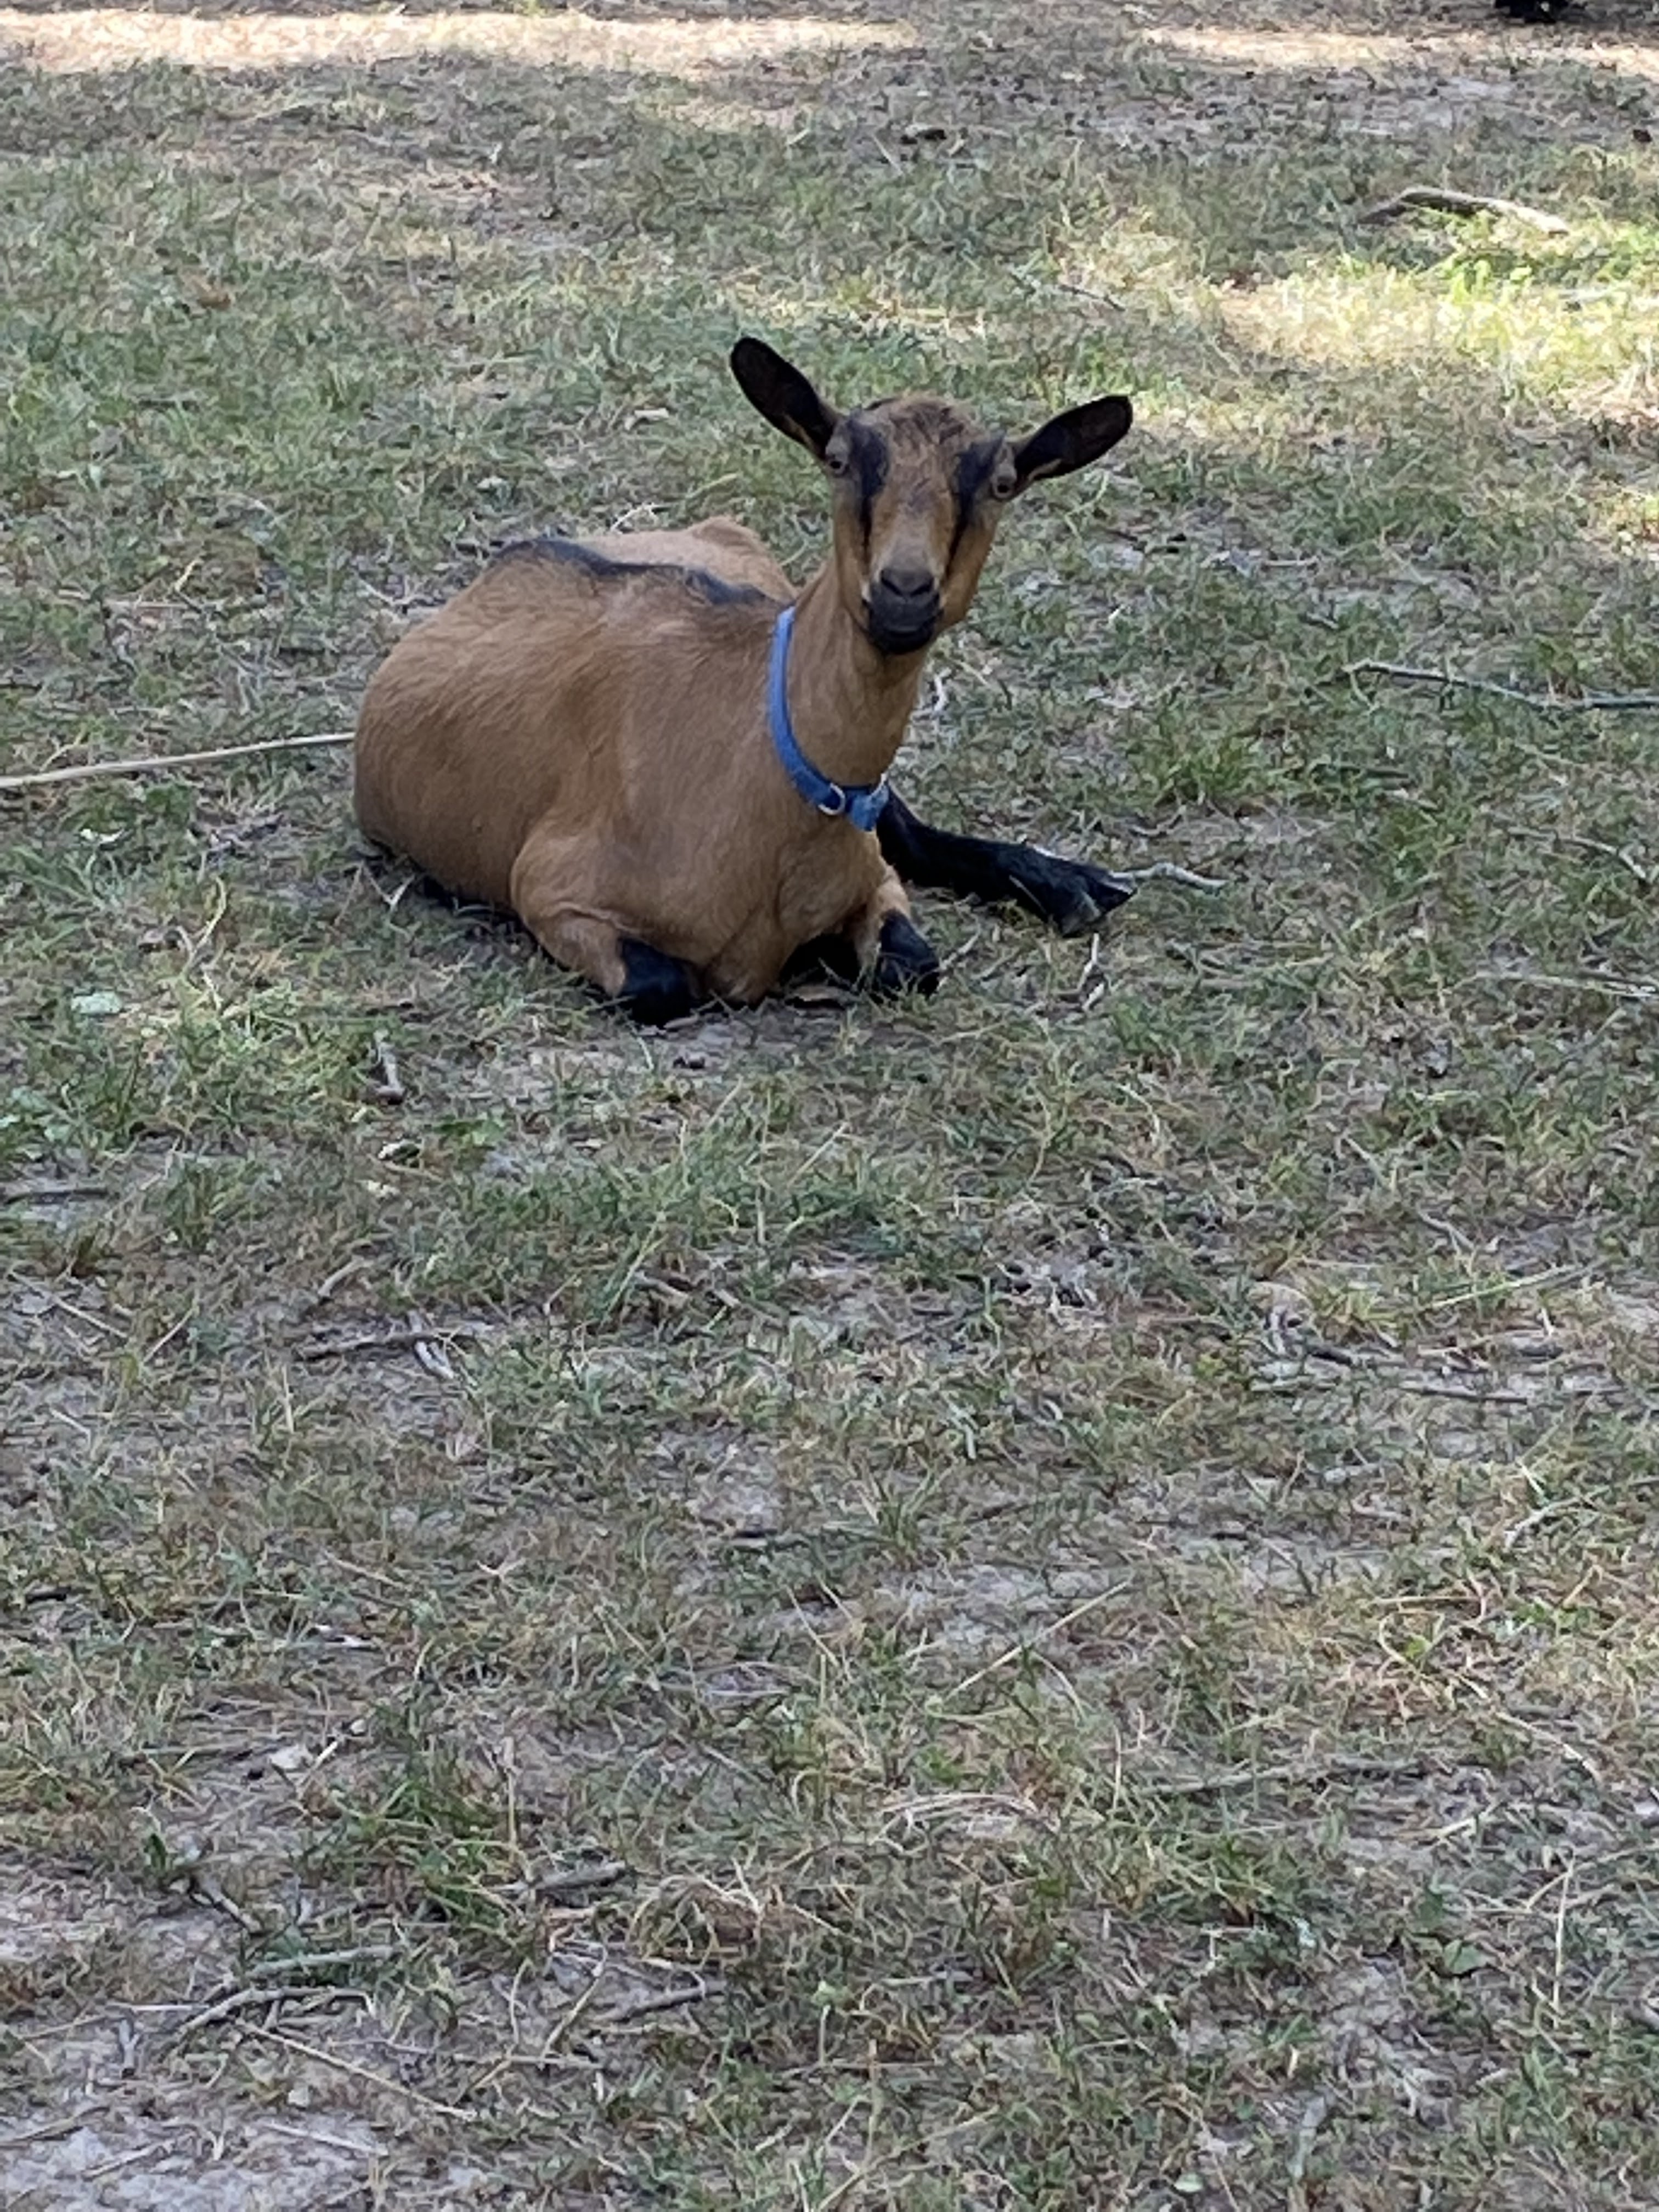
Thursday, October 13, 2022

Frost Warning, Seed Saving, and Pruning

 So we had our first frost warning and I still have many tomatoes on the vine.  Rather than lose them, I decided to pick the ones that are ripe, partially ripe, and the large green ones.  I mean, how many could that be? Right?


I only took seven of my gallon tubs back to the garden, so when I filled them up, I quit picking.  I left some green cherry tomatoes, some green Romas, and some of the smaller greens because I flat ran out of room.  I picked the one zucchini that was left, a couple of small scallop squash, and all the peppers that were decent size.  

The tomatoes that are partially ripened, even if they are just starting to turn colors will continue to ripen.  Some people say to put them in a window, but I just left them in the tubs and after a few days, I had many ripe tomatoes.  In fact, I froze a couple of gallon bags so far.  I am not much of a fan of green tomatoes but I did gift them to some people who are.  The ones that are not ripening are great treats for my goats, so I take them a couple each feeding instead of animal crackers for treats.  The chickens like them too!

Today I decided I had better do something with the peppers.  I love fresh bell peppers on a salad, but I just can't eat this many that fast.  So I freeze them in strips for use in fajitas, soups, or a million other ways.  A little trick that I use when cutting up this many peppers, especially when they are on the small size like these is to use kitchen shears.  Works like a charm.  


When you cut the top of the pepper at the stem end, you pull out the center core and the seeds that are with it.  After all the money I spent on seedlings last year, I decided to start as many as possible from seeds.  These plants were great producers so I kept some of the seeds.  


The seeds are wet so to store them you have to let them dry out or they will mold.  So I taped a paper towel to a plastic lid and put the seeds on it to dry.  After they are completely dry, just put them in a baggy and store them until next year.  


I also had some jalapenos to preserve.  My husband loves jalapenos.  Me....not so much.  I used some of them in my salsa and I canned a few jars for him in a dilly brine for him to put on burgers.  The few I have from this last picking aren't enough to do much with.  I decided the best way is to chop them and package them for use in chili, casseroles, etc.

So what seems like a hundred years ago, I used to work for a Mexican food manufacturer.  We made refried beans, salsas, tortillas, etc. and processed them and sold them to supermarkets.  One year we hired a guy who was an ex-football player.  He was given the job of grinding the peppers for the salsa.  It was a standing joke that he cried like a girl because he didn't wear gloves that the jalapenos burnt his skin.  Well, I am here to tell you that it is not a joke.  Jalapenos contain capsaicin, a chemical that produces the burning sensation that you feel when you eat spicy food.  If you get this on the skin, you will feel like you are on fire.  So, if you are new to working with hot peppers, rule #1:  Always wear gloves.  Rule #2:  Do not touch your eyes or other parts of your body with your gloved hand.

Recently I found this box of disposable food-grade gloves at a garage sale for a quarter.  They are the kind that they wear at the Sub shop when they are making your sandwich.  These work great!  And they are so cheap that if you need to take them off, you can just get a new pair when you are done.  

I used my little Ninja food chopper.  After coring the peppers and taking out many of the seeds, I ground them up and packaged a tablespoon in each of several bags.  I can just throw these into whatever I am cooking.  Easy Peasy.  
I had these little bags in my craft supplies.  After I packaged up a half dozen or so, I put them in sandwich bags and stuck them in the freezer.  Make sure you mark the bags so if you forget, which I am likely to do, you know what you have.

There were quite a few seeds so I saved some and set them out to dry in the same way I did the bell pepper seeds.


. You can freeze peppers without blanching and when using jalapenos, customize the package to fit your needs.  If you like your food spicier, leave in more seeds or make the portions larger.  They do tend to get soft when thawed, so it is best to use them in cooking.

After finishing up with my peppers, I headed out to the flower garden to trim back some of the Rose of Sharon bushes that are taking over.  I pruned them back really far and took the branches and leaves to Laverne and Shirley for a little goat treat.  I also decided to save some marigold seeds while I was in there messing around.  I have done this for years and it is easy and nearly mistake-proof.  As marigolds finish flowering, the flower dries and leaves a pod.  It will dry out and produce seeds.  I have beautiful marigolds every year and never buy any seeds.  


Separate the seeds from the pod and put them on a paper towel to completely dry out.  I share these seeds with my friends and family.  Marigolds love bright sunlight, warm or hot weather, and are known to keep deer and rabbits away because of their distinct smell.

One final pic before I go.  Our front yard Maple tree is showing her stuff this year.  I really think she likes Fall too!


Thursday, October 6, 2022

The Garden is Winding Down

I never thought I would say this:  I am sick of tomatoes.  I love 'em.  I hate 'em.  The taste is divine. And homegrown are the best!  But this year our tomatoes have gone above and beyond anything I could ever wish for.  I can honestly say that I have eaten tomatoes at least once a day for the last two months.  But the season is winding down and my pantry is getting full and I am getting tired.

Not expecting a bumper crop, I planted all kinds of tomato seedlings.  Big boys, Early girls, cherry tomatoes, Romas, and a whole bunch that I don't even know what we have.  So far this year I have made two batches of salsa, two batches of tomato soup, diced tomatoes, tomato juice, chili sauce, pasta sauce, and soup starter.  And they just keep coming!

This week has been so busy.  With no time to can, I wash the tomatoes, core them, put them in gallon freezer bags, and stick them in the freezer until things slow down a little.  Today was the day!

I had three gallon bags in the freezer and a gallon ice cream container of unfrozen tomatoes.

I use this old strainer that I have had forever and dip the tomatoes into boiling water for just a few minutes.  Fresh tomatoes don't have to stay in as long as the frozen ones.


Another one of my ice cream containers is filled with cold water and ice.  Plunge the tomatoes into the ice water and the skins come magically off!

I save all the peelings and cores.  My chickens love them!

Using the food processor, I grind the tomatoes, leaving all that good pulp and seeds in the mixture.

Heat it till boiling. I had so much that I had to use two pans.  While it is heating, I take my clean water bath canner and fill with water (I fill to the last ring on the top), and turn on.  I sterilized my jars and lids in this clean water.  Fill the jars with your tomatoes, and add 1/2 tsp of salt, and 1/2 tablespoon of lemon juice to each pint jar.  Of course, if you are using quarts, double that.  Put in the water bath canner for 45 minutes.  
It's okay if you choose to use quart jars.  There are only two of us here so I use the pints.  I use these tomatoes all year long in soup, chili, or any other recipe that calls for canned tomatoes.  
Out of my tomatoes today, I got 12 pints.  The bad thing about that is that my canner only holds 8 pints so I had to run two batches.  
Confession time:  I hope I don't get visited by the police.  My kitchen looks like a murder scene. Tomatoes are about the messiest of any vegetable (or fruit) that I have ever preserved.  And unfortunately, I am a sloppy cook.  
Oh, yes, I have had this food processor for over 30 years.  I like old things....just like me.

Here is a little hint.  When canning, put a little vinegar in the canner before use.  It helps keep the jars pretty and sparkly.  I forgot on my first batch and had to wipe down each jar and lid.  This is especially important if you have hard water or live in the country with a well.

I did squeeze in a little time to put out my garage sale wagon and some pumpkins and gourds from the garden.  I bought the mums at a flea market for $10.  We had everything else.  I love fall 


Wednesday, October 5, 2022

Getting ready for Babies

 I saw this picture on Facebook the other day.  It was a photo of a baby goat and it was labeled "Bankruptcy Starter Package."  And I totally get it.  Between feed and hay and meds when needed, it can get kinda pricy.  But since we are on a tight budget, we do a lot with what we have or can find cheaply.

Our goats were a gift.  My son bought them for us for Christmas.  We built our barn from mostly wood from our property.  This serves a dual purpose.  Much of the property is overgrown, and older trees get disease or rot and younger ones cannot thrive under crowded conditions.  This helps us thin the trees so the ones that we keep are strong and healthy.

We had to buy the siding and the roof material, as well as some wood for support, but all the cross pieces and uprights were cut from oak or cedar from the property.  

Even the fence posts came from the property.  

We had to cut this huge tree that was in the way of getting sunlight to the garden.  Randy used his chain saw mill to make lumber for the stalls and fencing.  Any wood that couldn't be used for the barn was split for firewood.

The barn is 15' x 15' and is divided into three sections.  The first half is for two does, a quarter is for Mr. Bill, and the other quarter is for feed and hay storage.  Eventually, we will be moving  Mr. Bill to a new location and we will use his quarters for babies.  The hay storage will be relocated and the current space will be used for milking.  

We spent less than $1000 on the barn and fence.  Of course, this was built in 2021.  Prices are much different now.  Since we are breeding our does this month, we are preparing for babies.  We have enlarged the pasture and cross-fenced some of it so we will be able to re-seed it.  Goats clear weeds and brush, it's true.  And everything else in their path.

We were at our local feed store and they had a stack of metal outside.  We asked about it and they told us their mowers were shipped in these metal crates.  They were selling them and we made them an offer of $25 per crate.  Our first three crates were able to build the four gates that we needed for the new pasture.  


For less than $100, we were able to get four gates that are heavy-duty and strong.  This would have normally cost us over $500 if we had purchased from the local home improvement or feed store.  Now we are working on a small barn for Bill so we can start preparing for babies.  Goats have a five-month gestation period so if we breed now, in early spring we should be blessed with little ones. 

Wednesday, August 24, 2022

Another Busy Week On the Homestead!

 Don't think for a hot minute that I am complaining about being busy.  No sireeee.  I would rather have loads to do than sit around twiddling my thumbs.....do people still say that?  So last week we had our monthly bee meeting on Monday night.  We have had quite the struggle with bees this year.  We purchased a nuc and set it up and within three days it was gone.  I called a fellow bee meeting member that we bought them from and asked what I did wrong.  He made it right and gave me another nuc at no charge.

Now if you don't know much about bees, a nuc, short for nucleus, is a set of five frames, complete with bees, honey, brood (bee eggs), and the almighty queen.  We ended up with three different nucs of bees and they all absconded.  We had two of the experts from our club come out to identify any problems, but no one could find any.  We assume that the equipment had somehow been in contact with some chemical that the bees did not like.  We purchased a hive from someone else and it is doing well.  


The garden has been growing crazy!  I had so many squash that I had to donate thirty of them to a local food bank.  

I am up to 20 bags of squash in my freezer, have canned 15 pints of bread and butter pickles and some tomato soup.  I also froze some squash for frying.  I found a recipe online but to tell you the truth, it was a mess, took a lot of time, and seemed to stick together.  If it works this winter, I will be amazed.  I have 15 bags of servings for two frozen.  

Off to make deviled eggs!  More later!

Wednesday, August 10, 2022

Canning Season

 I started canning veggies back when we lived in Colorado.  We always had a small garden and never really enough to can but I enjoy it so much!  Each August, I would drive about 80 miles to the East side of the Denver metro area where there were farm stands selling fresh produce.  I bought tomatoes and peppers, and cucumbers and sometimes zucchini.  When we moved to the Ozarks, our garden started producing more. But the first year I bought tomatoes for salsa and chili sauce.  Last year, my neighbor gave me some tomatoes, so I didn't purchase any, but our cukes and squash were only enough for small batches or daily use.  Each year we have added to the soil.  Horse manure, compost, and mulch were added.  This year we could add additional goat poo from our unending supply and some chick manure.  Finally, we have a garden.  But as the old adage goes-Be careful what you wish for.  

I think we have like 33 tomato plants.  And I didn't just get one kind of tomato.  We have cherry tomatoes, Roma sauce tomatoes, slicing tomatoes, and a few heritage tomatoes thrown in.

Last year, our garden struggled.  Some of the squash that didn't do well last year, came up this year without us planting it.  Most of the plants I started from seeds, except for the tomatoes.  I think I only have four that I started from seeds.
I am now picking twice a day usually.  The white scallop tomatoes are taking over the garden and I had to trim them back.  
I swear the zucchini grow overnight.  
I have enough cucumbers for once to actually can some without buying additional from the farmer's market.
So far, I have canned salsa, dill slices, corn, sweet relish, and tomato juice and corn relish. (not pictured).  I have frozen five pints of freezer slaw, four bags of four cups of blackberries, and 10, yes, 10-gallon bags containing 3 cups each. 

And I still have much more to do.  I will try to include some recipes in my next post but for now, I need to go cook dinner and phew! put my feet up!

Friday, July 29, 2022

My Goats, The Barn, My Happy Place

 Sometimes we find the most joy in the most unusual places, don't we?  Never ever did I think I would fall in love with three little goats.  I never thought I would actually enjoy the smell of the barn, and not mind shoveling goat poo.  But as God is my witness, I have found my Utopia in a goat barn.  
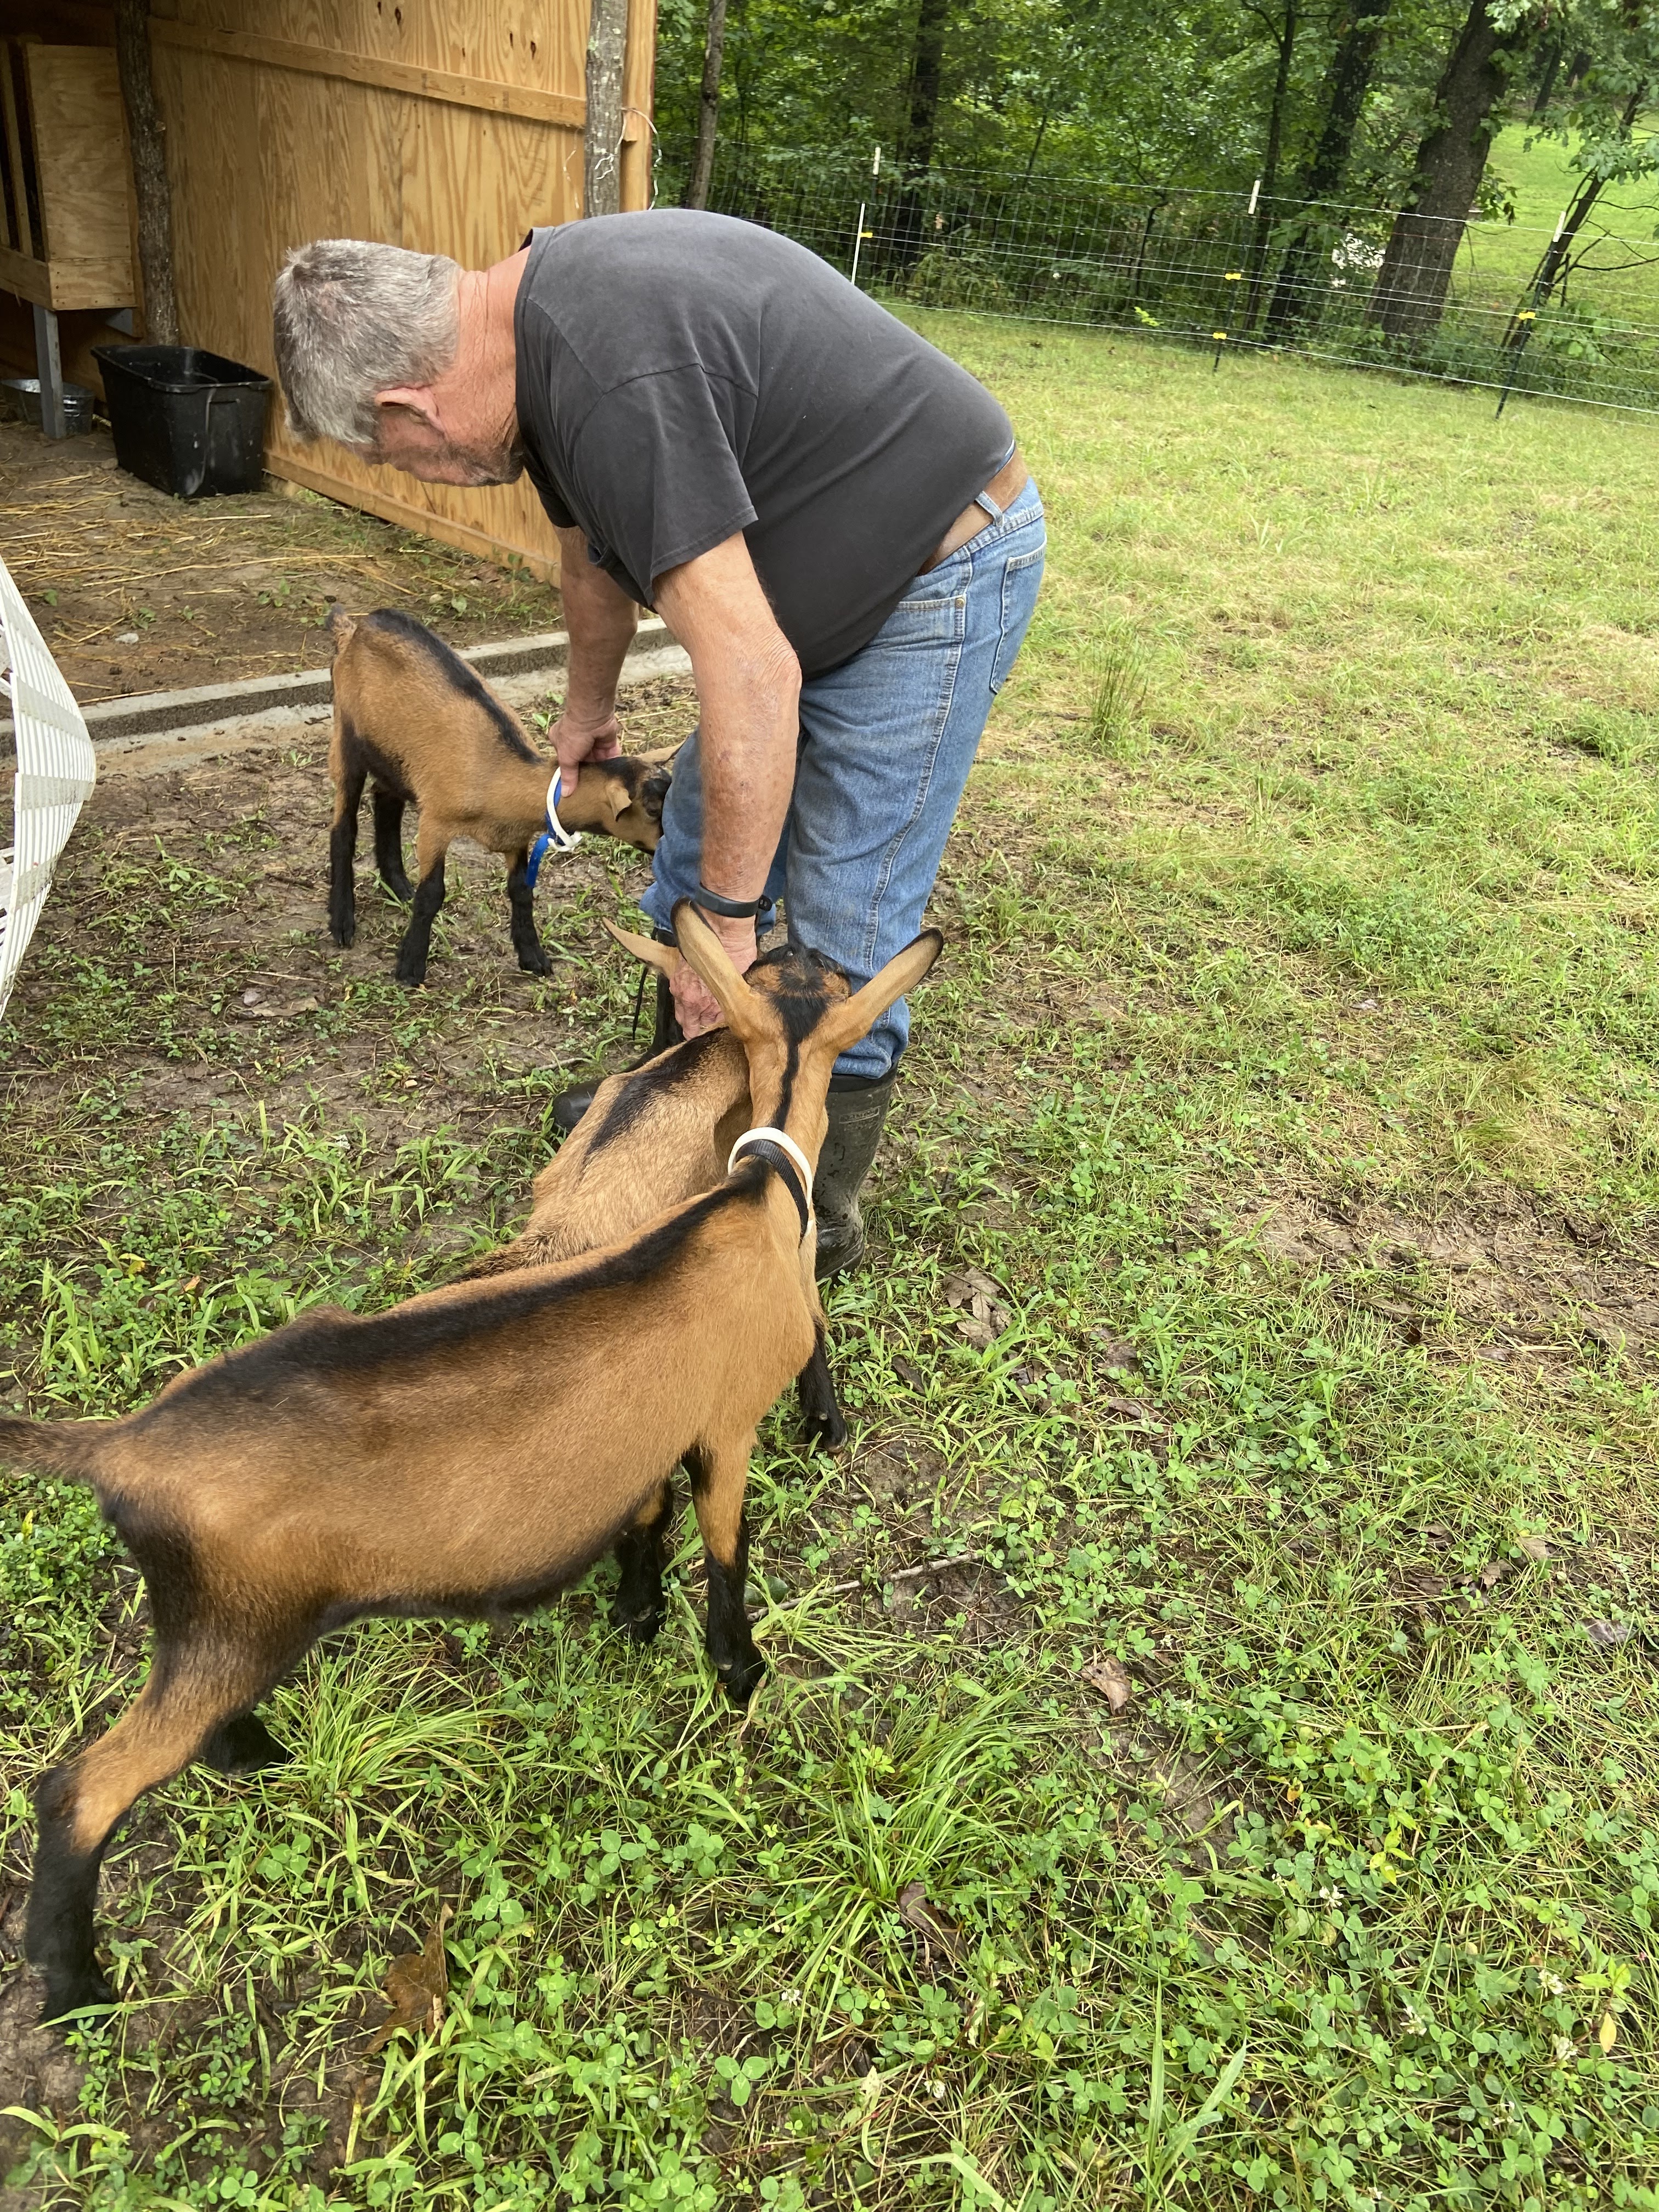
We have had the kids for a year now.  We took my 97 minivan to Kansas to pick them up.  To say I was unprepared would be an understatement.  Our goats were so tiny!  And I had no idea what to do with them. Meet Mr. Bill, Laverne, and her twin sister Shirley.   They cuddled in the van but by the time we got them home on that hot July day, they were ready to eat.

It took them a bit to warm up to us but now they are attentive, loving, and full of mischief.


The year has been a learning experience for us.  So many misconceptions!
  So much to learn!

  1. Goats do not eat everything.  Not tin cans, not hay when it falls on the floor, not some goat feed.  They are finicky.  They only want the best hay, the leaves off of all the trees, and whatever the other one has.
  2. When one goat gets sick, they all get sick.  I read that you need to pay attention to their goat poop.  It should look like bbs and be everywhere.  So one day I started noticing Mr. Bill's poop was soft and more like it came from a cow.  My husband said don't worry.  I worried anyway.  Within a couple of days, Mr. Bill had a bad case of diarrhea and wasn't eating.   Here I sat washing his behind and cleaning up messes.  By the time it was all over, they all three got it, I treated it, and it was over.  Thank God for Google and YouTube.  
  3. Goats can get into everything.  They can climb ladders, steal your hat, and pee on your tools. We learned really quickly that they are curious creatures and that they cannot be trusted.   

 Our goats are Oberhasli dairy goats.  Though they are from the same breeder, the twins are from different parents.  We plan on breeding them in the fall so we can have Springtime babies.  The barn is complete but we are considering a buck barn.  Right now they are separated, but Mr. Bill is really rambunctious and unpredictable.  I think he needs to be farther away.  We just have some logistics to work out with things like power and water.  


Thursday, July 28, 2022

Water Catchment System

 One thing about living in Missouri, it can either be a week of rainy weather or no rain in sight.  When summer hits, and we found ourselves watering almost daily to keep our garden alive, it made us cringe to think about what it is doing to our well.  So with the addition of the goat barn, we decided to try our hand at a water catchment system.  

Our barn has a roof that is slanted in one direction, with the low side on the back of the barn.  We put a gutter on that side only.

We found the barrels on Marketplace locally for $10 each.  These are food grade barrels that once contained soybean oil.  We also had to purchase concrete blocks so that they could sit evenly and be off the ground.  After getting the blocks level, we had to put connectors between the barrels, so that the water can move freely from one to the other after it comes off the barn roof.  


Hubs had to do some digging and leveling to get everything lined up.  To connect the barrels, we had to order the parts from Amazon.  We needed two hoses to go between the barrels, and the connectors that attached the barrels to the hoses.  We looked at several hardware stores, but I found them on line and ordered them.  The thing I did not do was order both set of parts from the same manufacturer.  So when the came, the threads did not match up.  Oh, Geez.  Luckily, we went to the local hardware store and were able to buy the parts we needed, but of course that added to the cost.


Probably the toughest part of installing the connectors is that the top of the barrel is sealed except for a smallish hole to pour from.  So it is difficult to get the connector down to the bottom of the barrel.  So hubby attached a socket to a long pole via duct tape and fed that into the barrel. 
To get the connector up to the hole that was cut in the bottom of the barrel, we threaded a rope through the openings and put the connector on and let it travel down inside the barrel.  Worked like a charm!


The rain fills out each barrel evenly and simply moves to the next barrel as the volume increases.


Once the gutters were installed, we used this flexible gutter to catch the rain into the first barrel.


       This was pretty much finished.  We did invest in a small pump that we purchased at Harbor Freight.  It pumps the water at a full stream so we are able to water our garden easily without using all of our well water.


This post is from last year.  A bout with cancer and some other life changes have delayed this post but I hope to catch up soon!  There are some things we learned.  

  1. A half inch of rainfall just about fills up these barrels.  I can get about three waterings for the garden out of these three.
  2. Missouri has heat and drought.  After draining the barrels it took a long time before they were full again.  We need more barrels.  This week alone we have gotten over 4 inches of rain and we were unable to save all of the water.